Congratulations! You are now the proud owner of a blog!
This is a learning space you will use for many of your classes. It is also a public learning journal and even your portfolio space! Note that not everything has to be shared here, and you also have opportunities to create pages attached to this space.
Here are 3 steps to get you started, then some important instructions for you to get used to the ‘Back End’ of your blog (which starts with your Dashboard), and to personalize the look and feel of your new learning space. 
Getting Started with your Inquiry Hub Blog
1. Go to your email and retrieve your username and password from the COL Campus email.
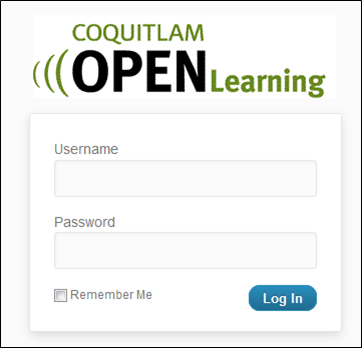
2. Click the link http:// YourBLOG .inquiryhub.org/wp-login.php that is in the email. Or you can access this from your blog’s side bar: (The ‘Home’ address without /wp-login.php at the end.)

3. Login using your username and password. Welcome to your blog!

This takes you to your Dashboard of your blog… that is the ‘Back End’ where you can fine tune your blog’s look and feel, and also adjust the key settings.
 Things to do:
** The first task on the Dashboard is to go to Users -> Your Profile -> Change your password – KEEP IT PRIVATE! (You shouldn’t share your email password with friends, the same goes for your blog password!)
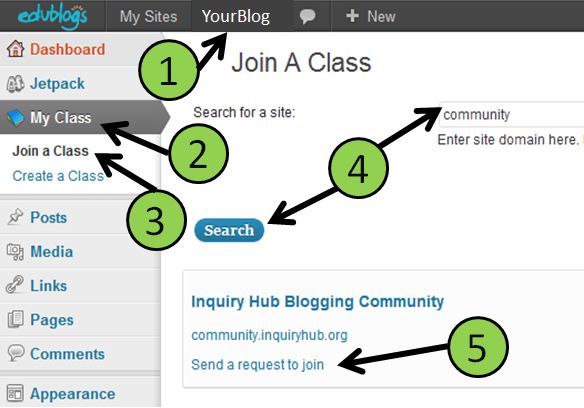
My Class -> Go to http://tinyurl.com/hubclass
…and follow the instructions. (You can adjust settings below first.)
Optional: Jetpack -> This is a great plugin that gives you stats and tools to
use, however you need to have a wordpress.com profile and this is
not essential, so try this later and focus on this space for now!
Appearance -> Themes -> Choose a Theme that you like! (Can change later)
-> Themes -> Customize -> Change the Header (image) etc.
-> Widgets -> Change your sidebar – (Try adding a ClustrMap)
**Users -> Your Profile -> Change your password – KEEP IT PRIVATE!
Also add your ‘First Name’ & Last initial (in ‘Last Name’)
-> Profile -> Your Avatar-> Use an image that isn’t copyrighted!
Settings -> General -> You can change your Site Title and Tagline
Timezone – Vancouver
-> Blog Avatar-> Use an image that isn’t copyrighted!
– – – – –
Now you can delete or change your first post and make it your own!
And feel free to ask questions in the comments below…
chances are questions you have will also help other students!

